Get started building your WooCommerce store or web application — Call us today at (206) 806.7809


Written By

It’s frustrating to put in the time and expense of creating original imagery for your online store, only to have competitors swoop in and steal your images for their own websites. Adding watermarks in Photoshop can give you great results, but it can also take a lot of time, especially if you have lots of products in your store.
Magento offers a watermarking tool, making it more difficult for others to steal your product photos and helping you retain the originality of your store. You can also use your own custom image as a watermark, to further personalize your brand and make images unattractive to potential thieves.
Creating a Watermark
Most watermarks consist of a simplified version of your logo or stylized text with your store name. Magento allows you to use .jpgs, .gifs or .png files for your watermark. We recommend going with a .png or .gif, since these file types have transparent alpha channels and give you a more traditional watermark effect. The very best results will come from files in the PNG-24 format. Your watermark will also appear better if you keep the file roughly the same size as you would like it to appear on the website, since resized watermarks don’t display with the same clarity.
Once you’ve created the file for your watermark, it’s time to add it to your store!
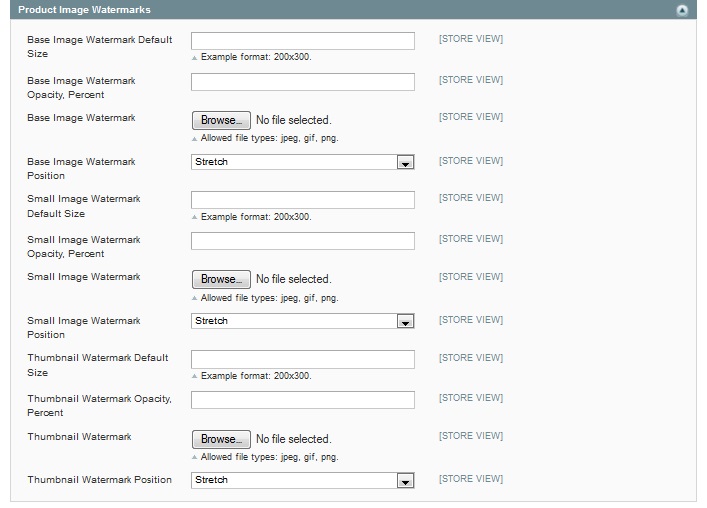
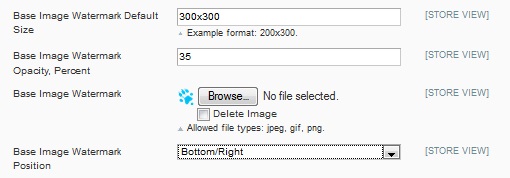
Adding a Product Image Watermark
Once you’re logged into the backend of your website, navigate to System > Configuration > General > Design.
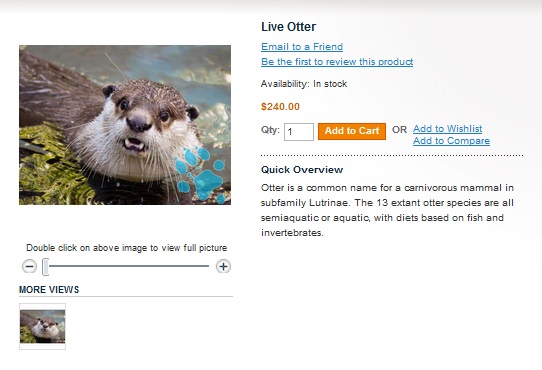
It might be necessary to clear your images cache in order for the watermark to show up. Navigate to System > Cache Management in order to clear your cache.
Then, check out your watermark on the front end of your site!

 2014-05-19
  8 mins
  builtmighty
  2014-12-12
4 mins
builtmighty
2014-12-12
4 mins
builtmighty Your team is about to get a whole lot mightier.
If it sounds like we might be a good fit, send us a message. We’ll get back to you within 24 hours. And then we can hit the ground running.


 October 24, 2014
 builtmighty
 Previous